How to Easily Fix a Leaky Roof: A Step-by-Step Guide
A leaky roof can be a frustrating and potentially disastrous problem for homeowners. Not only can it cause water damage and structural issues, but it can also lead to mold growth, pest infestations, and other unwelcome problems. However, fixing a leaky roof doesn’t have to be a daunting task. With the right tools and a bit of know-how, you can easily repair a leaky roof and prevent further damage. In this article, we’ll walk you through the steps to fix a leaky roof and provide some valuable tips and tricks to keep your roof in top condition.
Identifying the Source of the Leak
Before you can fix a leaky roof, you need to identify the source of the leak. This can be the most challenging part of the process, as water can travel a significant distance from the point of entry to the point where it’s visible. Here are some common areas to check:
- Shingles: Check for missing, damaged, or loose shingles, which can allow water to seep underneath.
- Flashing: Inspect the flashing around chimneys, vents, and skylights, as these areas are common sources of leaks.
- Valleys: Check the valleys where two roofs meet, as these areas can be prone to leaks.
- Gutters and downspouts: Clogged gutters and downspouts can cause water to back up and leak into the roof.
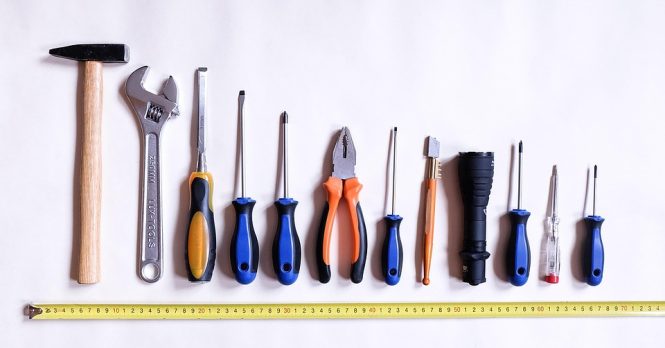
Gathering the Right Tools and Materials
Once you’ve identified the source of the leak, it’s time to gather the necessary tools and materials to fix it. Here are some essentials:
- Roofing cement: A waterproof sealant that can be applied to cracks and gaps.
- Shingles: Replacement shingles that match the existing ones.
- Flashing repair kit: A kit that includes flashing, cement, and other materials to repair damaged flashing.
- Safety gear: A ladder, harness, and gloves to ensure safe access to the roof.
Step-by-Step Repair Instructions
Now that you have the necessary tools and materials, it’s time to start the repair process. Here are the steps to follow:
- Clear the area: Remove any debris, such as leaves or twigs, from the affected area.
- Apply roofing cement: Use a putty knife to apply roofing cement to any cracks or gaps.
- Replace shingles: If a shingle is missing or damaged, remove the old one and replace it with a new one.
- Repair flashing: Use a flashing repair kit to repair damaged flashing around chimneys, vents, and skylights.
- Seal gutters and downspouts: Clean and seal gutters and downspouts to ensure proper water flow.
- Test the repair: Use a hose to simulate rainfall and test the repair to ensure it’s watertight.
Tips and Tricks
Here are some additional tips and tricks to keep in mind when fixing a leaky roof:
- Act quickly: The sooner you fix a leaky roof, the less damage it will cause.
- Use a ladder safety harness: A ladder safety harness can help prevent falls and injuries.
- Apply a sealant: Apply a sealant to the roof to prevent future leaks and damage.
- Consider professional help: If the leak is extensive or you’re not comfortable with heights, consider hiring a professional roofer to fix the leak.
Conclusion
Fixing a leaky roof doesn’t have to be a daunting task. By following the steps outlined in this article and using the right tools and materials, you can easily repair a leaky roof and prevent further damage. Remember to act quickly, use a ladder safety harness, and apply a sealant to the roof to prevent future leaks and damage. With a bit of know-how and some basic DIY skills, you can keep your roof in top condition and ensure a safe and dry home.